Make use of the Gallery block to present multiple photos together. The Gallery block includes separate Image blocks for each picture and neatly arranges them in a likable manner.
CREDIT – CLICK HERE
Add the Gallery Block #
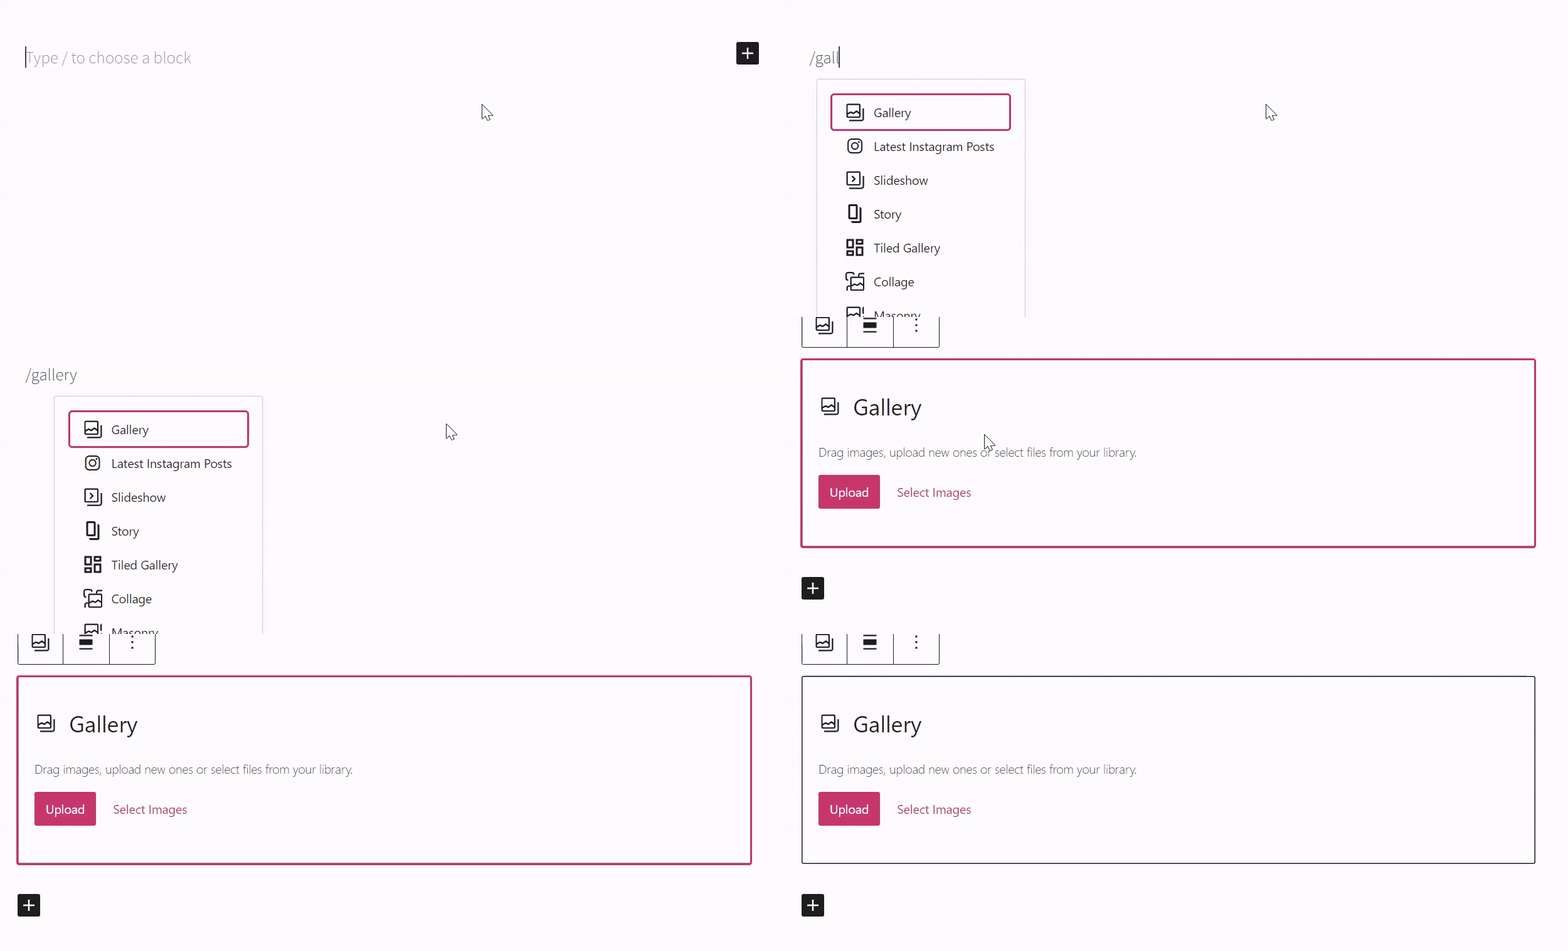
To add the Gallery block, click the + Block Inserter icon and search for “gallery”. Select it to add the block to the post or page.
Using your keyboard, you can also type /gallery on a new line and press enter to quickly add a new Gallery block.

For more information, visit our detailed instructions on adding blocks.
Add Your Images #
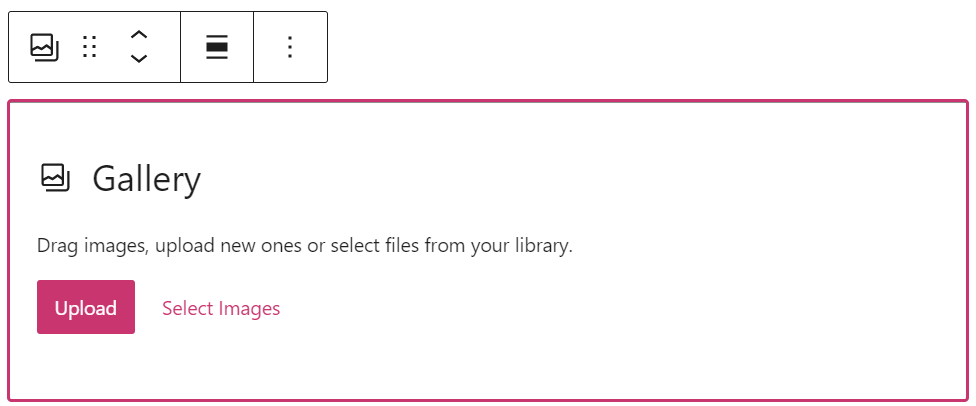
When you add a Gallery block, you’re given two options: Upload and Select Images:
- Upload: Add new images from your computer to your website.
- Select Images: Choose from previously uploaded images in your Media, or choose from Google Photos, the Pexels Free Photos library, or Openverse.

Add Images to Existing Gallery #
If you have already created a gallery and wish to add more images to it, follow these steps:
- Select the Gallery block, either by using List View (as shown on the left) or by clicking on a single image in the gallery and then clicking the Gallery block icon in the toolbar above the image (as shown on the right):


- Click the Add button in the toolbar above the Gallery block to add more images:

- Add your new images via one of the following options:
- Open Media Library: Add images you have already uploaded (or access Google Photos, the Pexels Free Photos library, or Openverse.)
- Upload: Upload new images from your computer or device.
- Click Update or Save in the top right corner of the editor to save your changes.
Block Toolbar #
When you click on the block, a toolbar of options will appear:

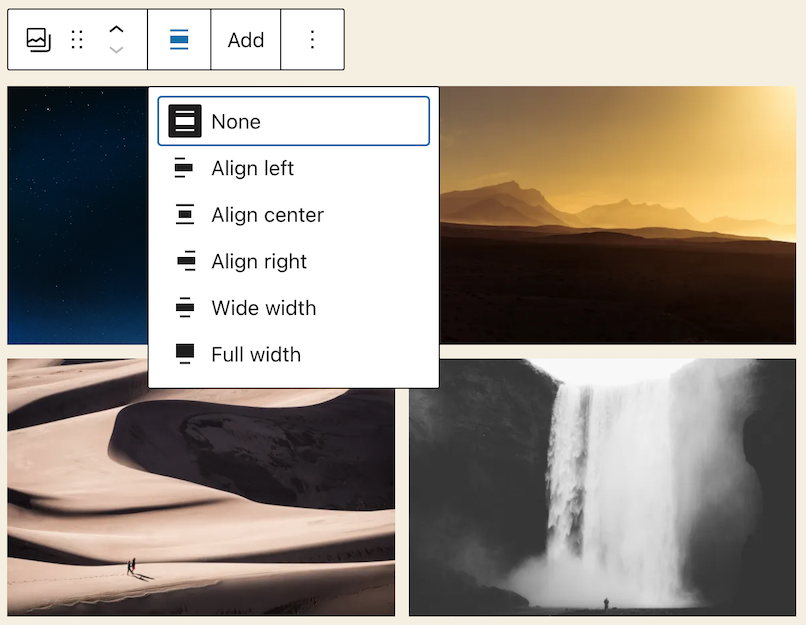
The Gallery block has the following options in its toolbar:
- Change the gallery to another block, including Image, Slideshow, Tiled Gallery, and other gallery formats.
- Align left, right, or center (and wide and full widths if supported by the theme.)
- Add: add more images
- More options


Leave a Reply